
Simple Pan Roasting Coffee
Ever since I had the pleasure of performing rudimentary data entry for the local library, I have been a coffee drinker. Initially, I would consume coffee in order to stave off the ever present threat of falling asleep while at work, but as my tastes have evolved so has my appreciation for coffee.
Before I knew it, I no longer thought of coffee as a dark bitter sludge to be used as a tool of sustainability, but more as a succulent delicacy that I should limit to once per day. During the time that I was acquiring the taste of black coffee, it didn't help to be teased by gourmet shops offering mocha's, latte's and everything in between.
After comparing the quality offered by a coffee house to my own store boughten brew, I would almost always end up depressed. Why must my boughten coffee develop a burnt, stale taste after only a week? I certainly am not interested in paying $3 - $5 for a gourmet cup each day.
I also am not interested in buying a months worth of stock that will only taste good for a week. So how do we overcome this perplexing conundrum?
Why, we roast and grind our own coffee!

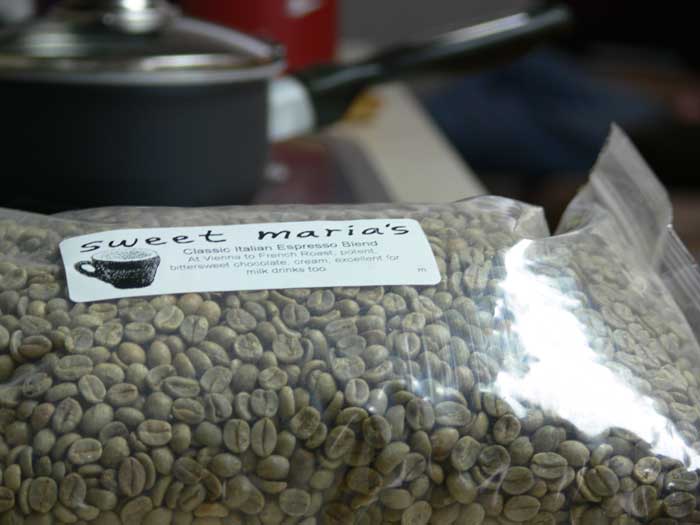
Despite what you have probably seen on many coffee sites or television, roasting your own coffee is actually quite simple and doesn't require any special tools. There are only two uncommon items that you will need in order to taste the best coffee each and every day. The first is a coffee grinder, which can be picked up in local department store for twenty dollars or less. The second is un-roasted or green coffee beans. These can either be picked up from a local shop (if you live in a large city), or ordered online. I have always ordered my beans from Sweet Maria's.
Manifesto of Supplies
1. Green Coffee Beans2. Small Pot with a lid
3. Container to Place roasted beans in (I use an empty margarine container)
4. Coffee Grinder
5. Place to put coffee shucks (these flake off while roasting)
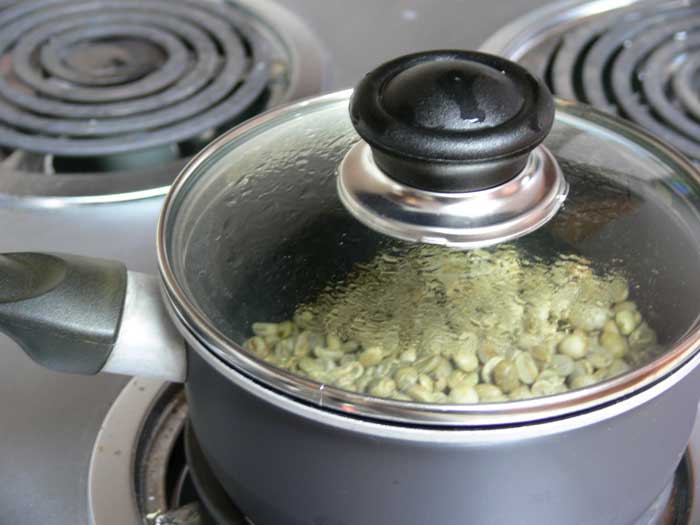
In order to roast our coffee, we will simply be cooking it in a pan on the stove top. I like to use a small pan because it is easier to shake the beans around, and I have also noticed that I get a more even roast than with larger cook ware.
Step 1 - Degree of Roast
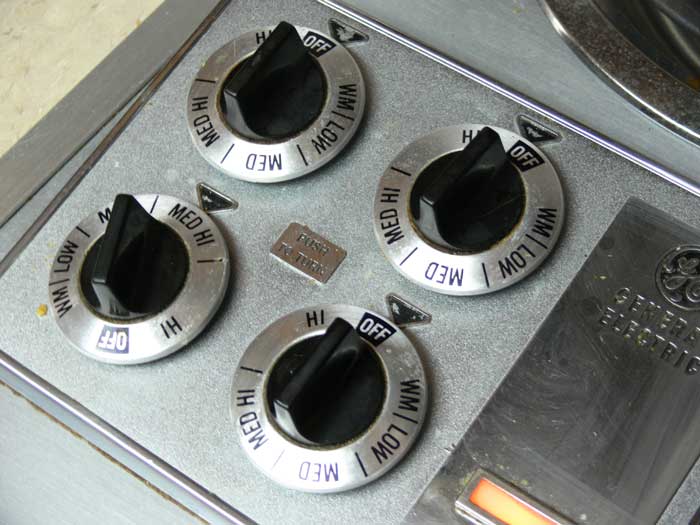
Step 2 - Starting the Roast
Step 3 - Moisture
Step 4 - Agitation
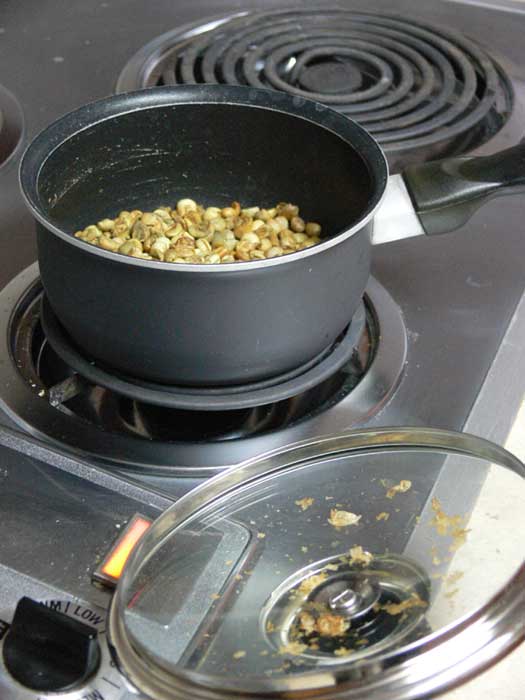
Step 5 - Shucks

Step 6 - Post Roast

Step 7 - Storage

Step 8 - Enjoy!
Grind your beans and enjoy the highest quality coffee you have ever had! I usually brew my coffee one cup at a time using an espresso machine. However, I have taken my roast into work and received rave reviews using the standard coffee brewer. Making coffee this way has definitely been a rewarding and flavorful experience for me. I doubt I will ever go back!Comments

Thanks for the helpful comments t. At the time I made this I was just getting started with roasting. I now use an air based roaster because using this method would normally take at least an hour.
You are right in that many of the pan roasts I did weren't perfect, but they helped introduce me to the craft a little more.

The roast looks uneven, but its a start. it looked as though some of the beans were definitely roasted dark, while others seemed to be still too light to consider a full roast. Pan roasting coffee has its faults as its easy to scorch the beans on the hot pan compared to the preferred method of using air to heat up the beans. one suggestion would be to aggitate the beans more or keep the heat at a lower tempertature, unless time was of importance. although your coffee may not be perfection its sure to have its unique qualities.
-t
Great tutorial with good info. Congrats! Drink your roasted coffee within 2 weeks (MAXIMUM) for best flavor, after that the volatile oils in the beans begin to dissipate, and you get the flavor of stale coffee. As for the grinders, I would like to add one addendum. It is best to get a burr grinder. If your grinder has a whirly blade inside it that spins when you press a button, it isn't a burr grinder. Most burr grinders have a hopper for beans- only put as many beans in the hopper as it takes for one pot. A decent burr grinder will run you about 40 bucks from cuisinart, which is available at some Sam's Club stores. One more note: Coffee is 98% water. Use filtered or bottled water, because good water is essential to good coffee. Happy coffee drinking! ~Robert Ernst, Roastmaster for Jackson Coffee Co.
Comments are currently disabled.
