
Java Microphone Selection and Level Monitoring
This tutorial was written in November 2010. I have spent a decent chunk of time in the last year working with sound recording and playback in Java and I have never been disappointed. There are a few tricks though when it comes to sorting out the complex mixer, port, and line paradigms that programming Java sound entails. When deploying a recording application across different platforms there are also a lot of tiny details that come into play.
Download The Entire Java Source Code and Project
How to Run This Example
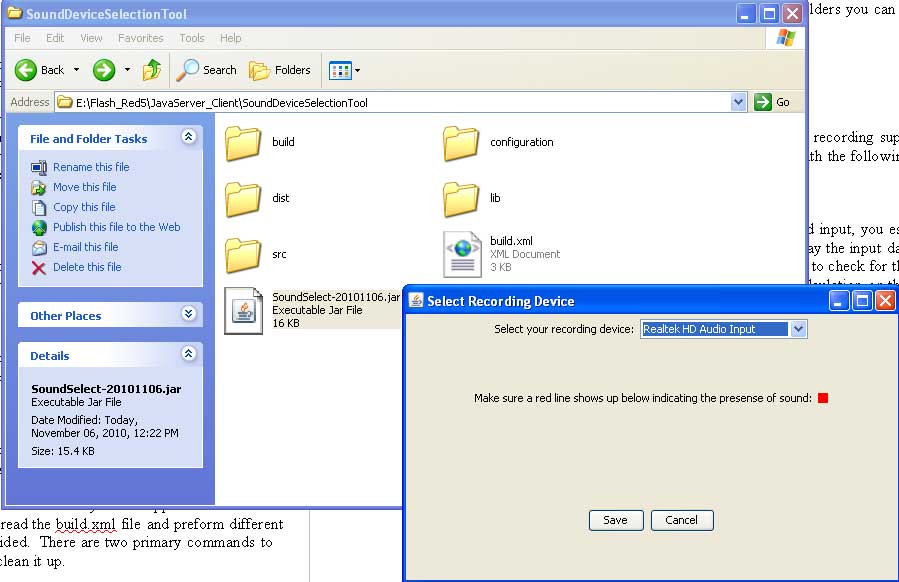
In order to see the terminal/command line output of the application you can navigate to the main directory of this application containing the SoundSelect .jar file as well as the build.xml file and execute the following command java -jar SoundSelect-20101106.jar.
How to Re-compile This Example
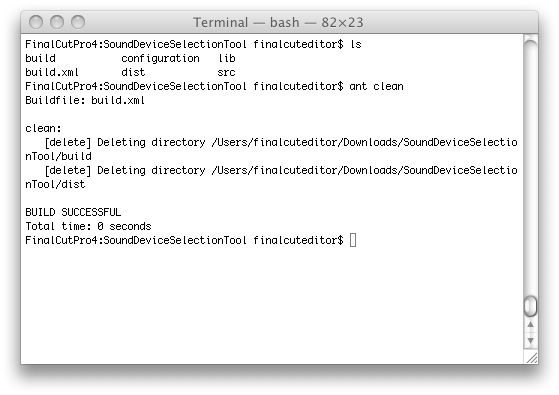
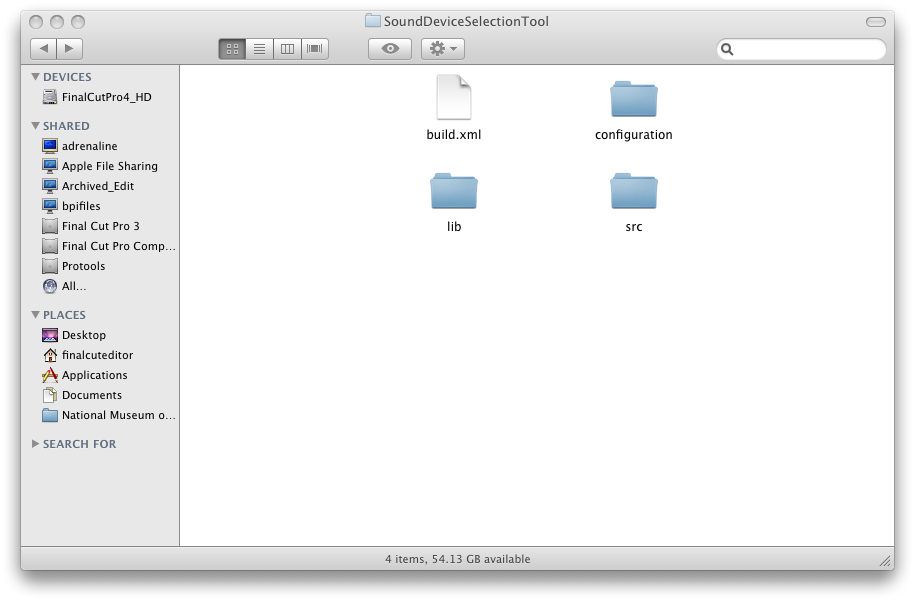
This program was built using Apache Ant with the Java 1.6 JDK. When building this application, assuming you have Apache Ant and it is available on your command line (you need to put the path to Ant's bin directory into your system PATH), navigate in the command prompt/terminal window to the main directory of this application. This contains a file called build.xml. Ant will read the build.xml file and preform different actions depending on the commands provided. There are two primary commands to compile and run this application, then to clean it up.
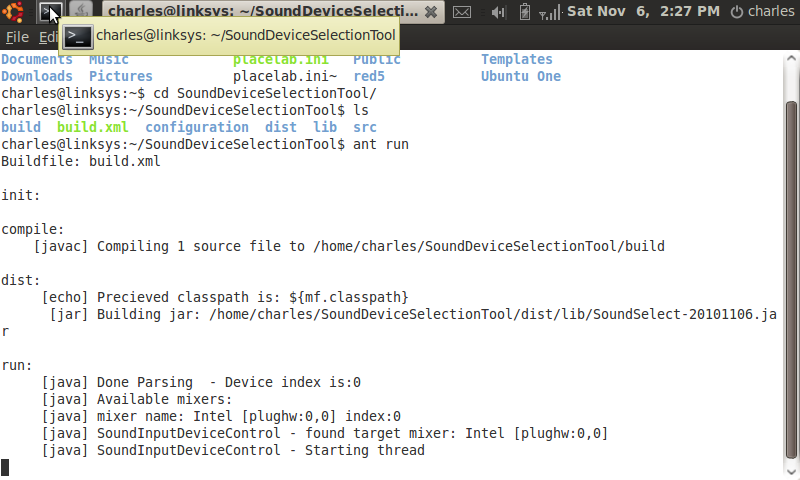
Running this command compiles the .java files in the src directory, creates a folder called "build" and places the compiled java .class files in there. It then creates a directory called dist then inside of that one called lib, then inside of that an executable .jar file with the current date is created.
Finally, this command takes the executable .jar file that was just created and will run it with all of the appropriate In order to delete the dist and build folders you can also run the following command:
Code Details
At a high level the src/bootstrap.java file is the main class of this application. First thing, an instance of the configuration file loader: src/com/technogumbo/XMLFileLoader.java is made and parameters are loaded from the file configuration/ClientConfiguration.xml. Then instances of the UI (src/com/technogumbo/ui/SoundDeviceSelectionUI.java) and the sound input control (src/com/technogumbo/devices/SoundInputDeviceControl.java) are made. Events are setup to route between these two and bootstrap.java.
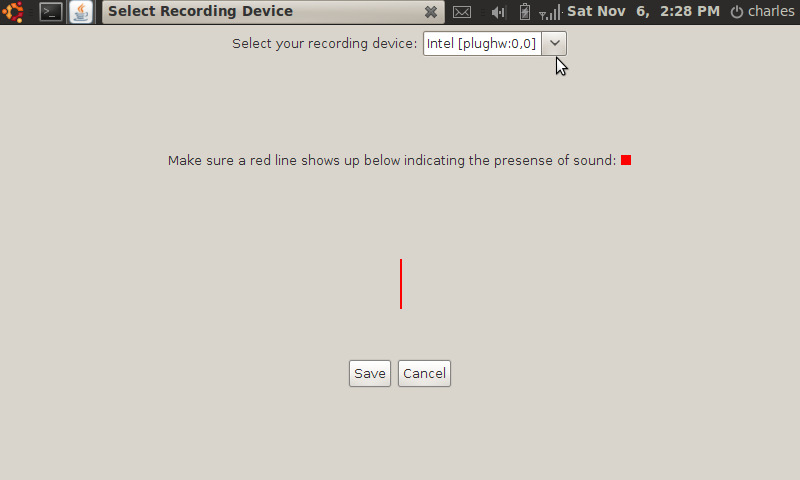
The selected device automatically attempts to open upon startup of this application. Each time a different item from the drop down is selected, that mixers TargetDataLine is automatically opened.
If the user presses the "Save" button, the XMLFileLoader.java will save the selected mixers index into the file: configuration/ClientConfiguration.xml.
All of the tips for manipulating Java Sound are contained in the file src/com/technogumbo/devices/SoundInputDeviceControl.java.
This application only lists mixers that have the TargetDataLine functionality. A TargetDataLine is the feature of a mixer that is needed in order to do sound recording. The key to determining if a mixer has recording support is to check if it supports a TargetDataLine. This can be done with the following pieces of code extracted from SoundInputDeviceControl.java:
Line.Info targetDLInfo = new Line.Info(TargetDataLine.class);
// Get all the mixers from the Java AudioSystem
Mixer.Info[] mixerInfo = AudioSystem.getMixerInfo();
// Iterate through each mixer and see if it supports TargetDataLine
for(int cnt = 0; cnt < mixerInfo.length; cnt++) {
// Get a temporary instance of the current mixer
Mixer currentMixer = AudioSystem.getMixer(mixerInfo[cnt]);
if( currentMixer.isLineSupported(targetDLInfo) ) {
// This mixer supports recording }
}
In order to monitor the levels of sound input, you essentially have to follow a similar procedure to recording, but throw away the input data in order to check the sound levels. There isn't any capability within Java to check for the level of sound. You have to analyze the input bits and do some calculation on them. The following code will allow you to convert input sound bits into tangible values thanks to the Java forums at: http://forums.sun.com/thread.jspa?threadID=5433582
The methodology of using an inner class in a separate thread for recording is taken from Dick Baldwin's excellent Java Sound tutorials: http://www.dickbaldwin.com/tocadv.htm
class CaptureThread extends Thread{
//An arbitrary-size temporary holding buffer
byte tempBuffer[] = new byte[500];
public void run(){
System.out.println("SoundInputDeviceControl - Starting thread");
threadEnded = false;
stopCapture = false;
try{
while(!stopCapture){
//Read data from the internal buffer of
// the data line.
int cnt = targetRecordLine.read(tempBuffer, 0, tempBuffer.length);
if(cnt > 0){
sendOutPresenceUpdates(calculateRMSLevel(tempBuffer), "");
}//end if
}//end while
targetRecordLine.close();
threadEnded = true;
}catch (Exception e) {
System.out.println(e);
System.exit(0);
}//end catch
}//end run
}//end inner class CaptureThread
// Calculate the level of the audio
// http://forums.sun.com/thread.jspa?threadID=5433582
//
private int calculateRMSLevel(byte[] audioData)
{
// audioData might be buffered data read from a data line
long lSum = 0;
for(int i=0; i < audioData.length; i++)
lSum = lSum + audioData[i];
double dAvg = lSum / audioData.length;
double sumMeanSquare = 0d;
for(int j=0; j < audioData.length; j++)
sumMeanSquare = sumMeanSquare + Math.pow(audioData[j] - dAvg, 2d);
double averageMeanSquare = sumMeanSquare / audioData.length;
return (int)(Math.pow(averageMeanSquare,0.5d) + 0.5);
}
You may still encounter issues depending on the sound hardware in the computer this is running on. If that occurs, I would check the list of recording formats supported by the selected mixer. A listing of devices will be output in the console window whenever you select a new device from the drop down if you uncomment the following section of code in SoundInputDeviceControl.java in the function "StartMonitoringLevelsOnMixer":
HashSet<AudioFormat> inputFormats = new HashSet<AudioFormat>();
HashSet<AudioFormat> outputFormats = new HashSet<AudioFormat>();
// Collect the input formats
for (Line.Info lineInfo : currentMixer.getSourceLineInfo()) {
for (AudioFormat newFormat : ((DataLine.Info)lineInfo).getFormats())
inputFormats.add(newFormat);
}
// Collect the output formats
for (Line.Info lineInfo : currentMixer.getTargetLineInfo()) {
for (AudioFormat newFormat : ((DataLine.Info)lineInfo).getFormats())
outputFormats.add(newFormat);
}
// List all supported I/O types for the target mixer
System.out.println("------------ Supported Input Formats --------------");
Iterator iterator = inputFormats.iterator();
while (iterator.hasNext()){
System.out.println(iterator.next() + " ");
}
// List all supported I/O types for the target mixer
System.out.println("------------ Supported Output Formats --------------");
iterator = outputFormats.iterator();
while (iterator.hasNext()){
System.out.println(iterator.next() + " ");
}
*/
I hope these samples will help you get off to a good start with Java Sound programming.
Download The Entire Java Source Code and Project
Comments

If you happen to get an array out of bounds exception when running this, change the configuration file in configuration/ClientConfiguration.xml the node recordDeviceIndex to 0.
Comments are currently disabled.
